Unit Testing With Android Studio
If you plan on doing TDD (test drive development) for your Android Stuio mobile projects, you will want to learn the main points of how to create and use Unit Tests in the post-Eclipse world of Android development.
Originally published on the rexstjohn.com blog

- android
Originally published at rexstjohn.com on January 25, 2014. Recovered from the Internet Archive.
If you plan on doing TDD (test drive development) for your Android Stuio mobile projects, you will want to learn the main points of how to create and use Unit Tests in the post-Eclipse world of Android development.
Enabling Unit Testing In Android Studio
Many guides out there will encourage you to add some lines in your “build.gradle” to enable “instrument tests” and also tell you to include the JUnit testing libraries in your dependencies…
This is completely unnecessary and you won’t need to worry about doing that.
Android Studio support Unit Tests without any modifications and you can enable them by setting a few options in your project settings. I will show you how.
Creating Your Unit Testing Folder
I like to keep my unit tests in my main project package e.g. “com.mypath.tests.” You can put your own tests wherever you want. To get started, create a new directory “tests” in your desired test location like so:
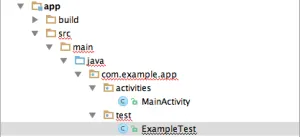
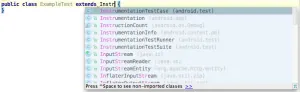
Next, create a new class and name it “ExampleTest.” Have it inherit from “InstrumentationTestCase:”
Lets add a simple test which we know will fail:
public class ExampleTest extends InstrumentationTestCase {
    public void test() throws Exception {
        final int expected = 1;
        final int reality = 5;
        assertEquals(expected, reality);
    }
}
REMEMBER
All test methods MUST start with the “test-” prefix or Android Studio will not detect them as tests and you will get all kinds of weird errors and nothing will work.
Configuring The Project For Unit Testing
Now that we have a test case which is doomed for failure, we must now run it.
Start by clicking “Run -> Edit Configurations.”
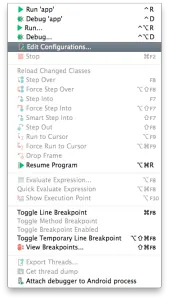
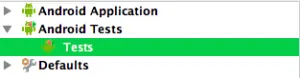
Now select “+ -> Android Tests” from the upper left hand corner and select “Android Tests” and name your new test configuration “test” or something equally relevant.
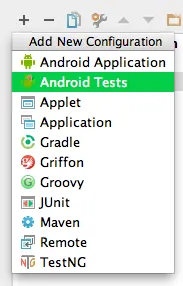
This will create a new test project configuration like this:
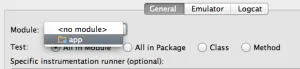
Select your current app module from the drop down menu.
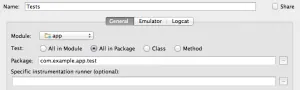
Next, select the “All in Package” option and navigate to your “test” folder you just created. You can also select “All in Module” and Android Studio will automatically find any test inside your whole Module! You can also get more specific and select “Class” or even “Method” option to narrow the scope of your testing down further.
The results should look like this:
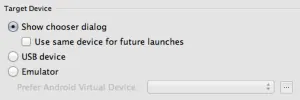
I also like to set the run configuration to “Show Chooser” so I can decide how to run the tests when needed:
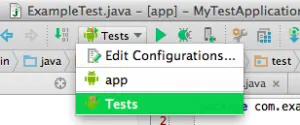
Now click “Apply” and then “Close.” You should now see your test cases as being a runnable project configuration in the bar across the top of your Android Studio instance.
Running Our Unit Tests
I use Genymotion for everything, so fire up your Genymotion instance and run the test.
Put a break point next to the assertion line in the test case we just created and click the “run debug mode.” The purpose is to prove to ourselves that Android Studio is really running our Unit Test case.
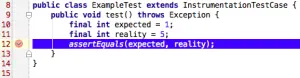
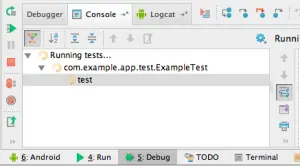
When you start your tests, you will now see a special testing display window “Running Tests…”
When your test fails, click “Logcat” and view the results for a comprehensive output as to why your test failed:
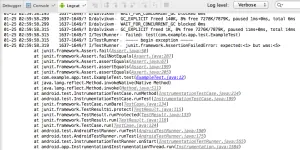
If you go through the console, you will find the given reason should be: “junit.framework.AssertionFailedError: expected:<1> but was:<5>”
Congratulations, you have failed!