Up and running with Seeed Studio Grove Starter Kit Plus
STOP: BEFORE DOING ANTHING FLASH YOUR EDISON IF YOU HAVE NOT DONE SO ALREADY.
Originally published on the rexstjohn.com blog
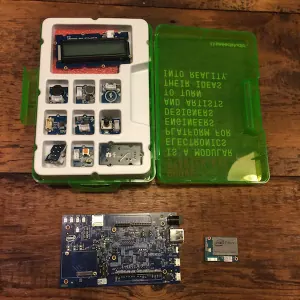
- intel-edison
Originally published at rexstjohn.com on October 10, 2014. Recovered from the Internet Archive.
STOP: BEFORE DOING ANTHING FLASH YOUR EDISON IF YOU HAVE NOT DONE SO ALREADY.
This guide will walk you through how to get up and running with Intel® Edison + Arduino and the Seeed Studio Grove Starter Kit Plus. Click the above red text for guidance on flashing your Edison (if it is new) to ensure it has the latest software on it.
Required Components
- Seeed Studios Grove Starter Kit Plus
- Intel® Edison + Arduino Breakout Kit
- 2 Micro-USB ( 1 comes in the Seeed Studio Kit) cables
Setting Up
Install the Sketchbook
- Open the Arduino IDE for Edison after installing it
- Click “Preferences” to discover the location of the Sketchbook
- Click “Browse”
- Unzip and copy the above Sketchbook folder into the directory and rename it “SeeedStudios”
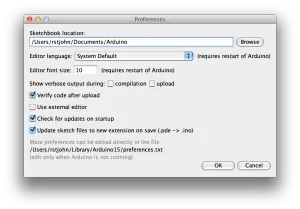
Plugging in Edison
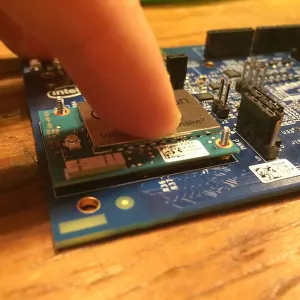
If you have not already, remove the Intel Edison + Arduino breakout board and snap the Edison into the board following Intel’s documentation. Make sure to screw the Edison into position and attach the plastic legs using the provided bits.
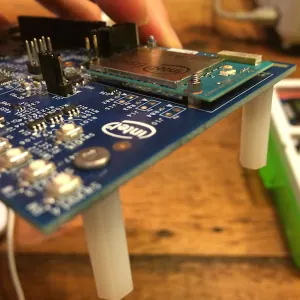
Powering Edison
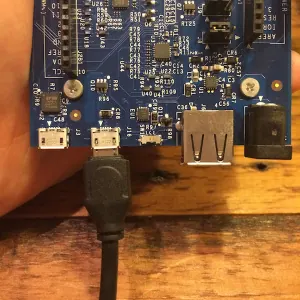
On the Arduino Breakout Board, plug one Micro-USB cable into your computer and the other end into the Inside or MiddleMicro-USB jack. A green light should come on indicating the board is powered.
Note: Power and Serial I/O are**separated on the Arduino Breakout Board. You must plug in TWO Micro-USB to both power and be able to deploy Arduino sketches to your Edison.
Connecting Edison To Your Arduino IDE
Now, connect a second Micro-USB cord to your Edison using the outside Micro-USB port and then connect the other end to your PC.
Pro-Tip: Always power your device BEFORE connecting the second Micro-USB cable!!!
Lets Add The Base Shield
Look underneath the LED screen and pull up the pink styrofoam in your Seeed Studio kit to locate the Base Shield unit.
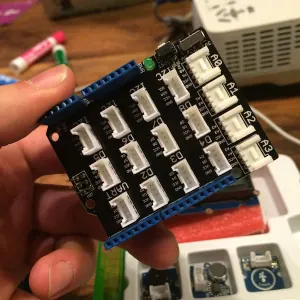
The Base Shield offers a variety of plugs for connecting your various sensors to your Intel Edison.
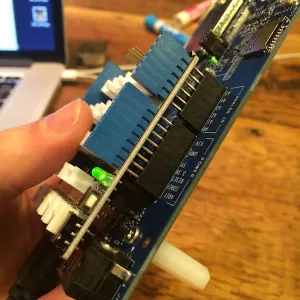
Next, attach the Base Shield to your Arduino Breakout Board and press down firmly. A green light will turn on when the unit is powered.
Plugging In The Temperature Sensor
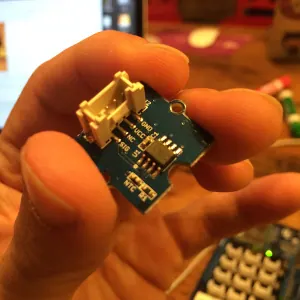
Locate the temperature sensor, it will say “Temperature Sensor” on the back side.
Next, use one of the provided wires (located under the white plastic shell) to attach it to your Base Shield unit. Make sure to plug the wire into the port marked “A0.”
Note: A0 is the default port in the temperature sketch we will use but you could change it as desired.
Applying The Temperature Sketch

If you haven’t looked through the booklet yet, it contains a variety of instructions on basic sketches. According to the “Grove, Temperature Sensor”, we need to click “File -> Sketchbook -> SeedStudio -> Grove_Temperature_Sensor” to load the basic temperature sketch.
Now click click the “Upload” button on the sketch which is displayed.
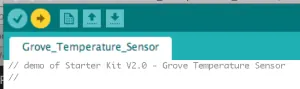
You should see a message “Transfer Complete” if it was successful, otherwise, check my error troubleshoot over here.
Viewing temperature sensor results
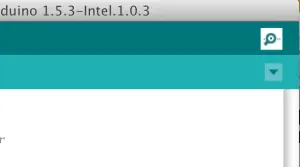
To view the temperature reading, click the “Serial Monitor” button in the upper right hand corner of the Arduino IDE. See below:
If it worked, you should see the following output: